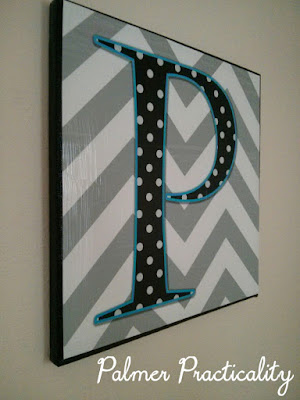
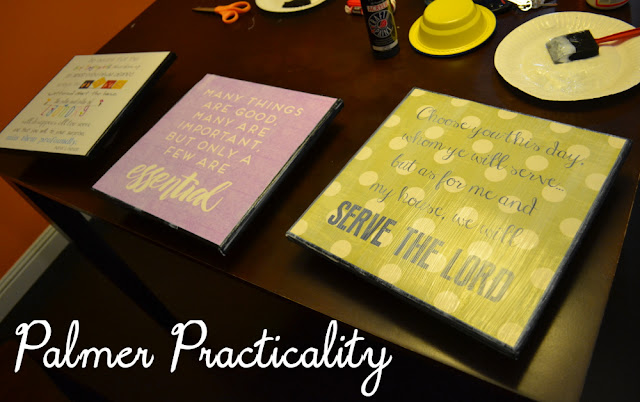
When I went to my sister-in-laws wedding last year (yes I am so slow at blogging!) I fell in love with these photo canvases that they had hanging up around the reception. And I couldn't believe it when she told me she had made them all herself and how cheap and easy it was. I knew I had to try it myself, especially when I heard the words mod podge. I love mod podge. I have been mod podging photo prints on blocks for years now, and was excited to use this amazing wonder on canvas.
I watched this video on how to mod podge a picture on to canvas, and it is very straightforward and indeed easy. In case you don't want to sit through a video, here are the 4 simple steps with some additional insight below:
Supplies:
Mod podge (recommend matte)
Black acrylic paint
Paint brush (I use a foam brush)
Printed picture
Canvas
What to do:
1. Paint black border (let it dry)
2. Paint the canvas with mod podge
3. Stick picture on. Gently push down, rubbing out all air bubbles
4. Top with a coat of mod podge, make sure to the seal edges with mod podge
Step 1- Painting black border
Step 2 & 3- Cover with mod podge, then place picture on canvas.
Step 4- Another coat of mod podge
*Additional tips: I always like to put newspaper or a tablecloth down so I don't have to worry about paint spilling. A blow dryer works great to speed up the process of the black paint drying. To paint the sides more easily, I always place the canvas on a plastic cup or bowl. Don't worry if the top coat of mod podge looks messy, it always dries clear.
A few other DIY Photo Canvas Projects I've been up to...
Love how these simple, easy projects turn out! They make such a beautiful addition to the home!


No comments:
Post a Comment